After 10 years away from proper coding, I’m building a new application. I’ll talk more about Listerly and some of my design choices at a later time, but this post should help document the process so if anyone else wants this type of a setup it’s easy to get going.
This application has many moving pieces, and to make my life easier I’m going to have some pretty awesome tools do most of the heavy lifting for me. In no particular order, the key pieces that I’ll be using include Google AppEngine (PAAS), maven (build), git/github (source control), Jersey (RESTful services), Guice (dependency injection), Freemarker (templates), Jackson (JSON) and JPA (persistence).
- Part 1 gets you set up with maven and a blank repository on github
- Part 2 gets you to the point of having a working web application running locally and deployed on AppEngine.
- Part 3 adds Jersey and Guice to the mix.
- Part 4 makes Jersey useful by demonstrating how to use Freemarker and Jackson to return HTML and JSON respectively.
- Part 5 will set up persistence to the Google DataStore using JPA.
Create AppEngine Project
Very simple. Go to appengine.google.com. Login, then click “Create Application”: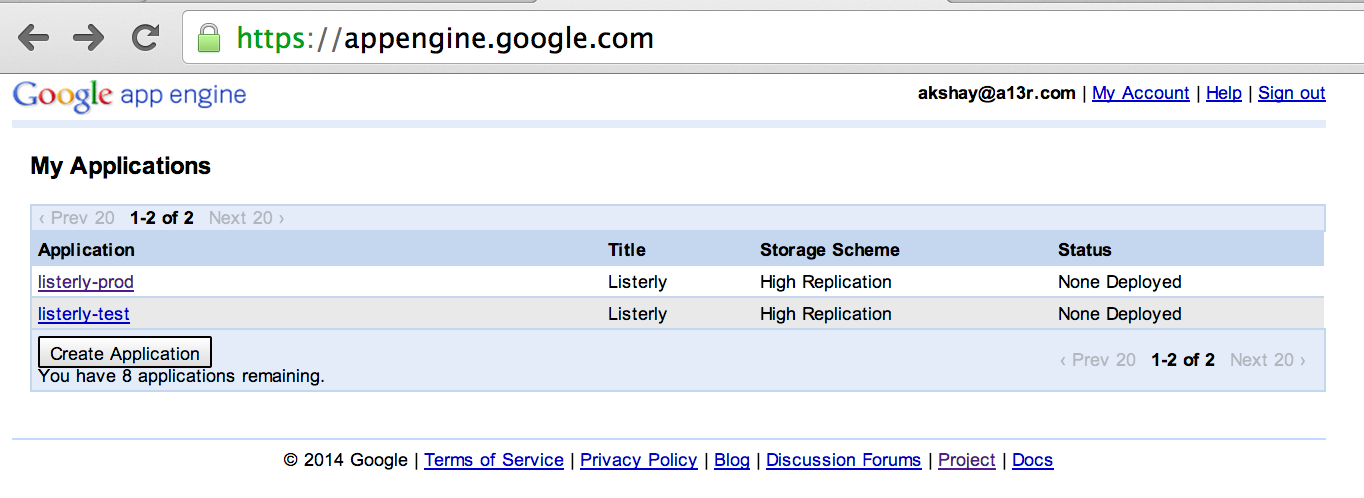
Find a nice identifier is available, and give your application a descriptive name. For the moment, I’ve set with the default authentication options, that allows any Google user to authenticate to your app (for the areas that you enable authentication):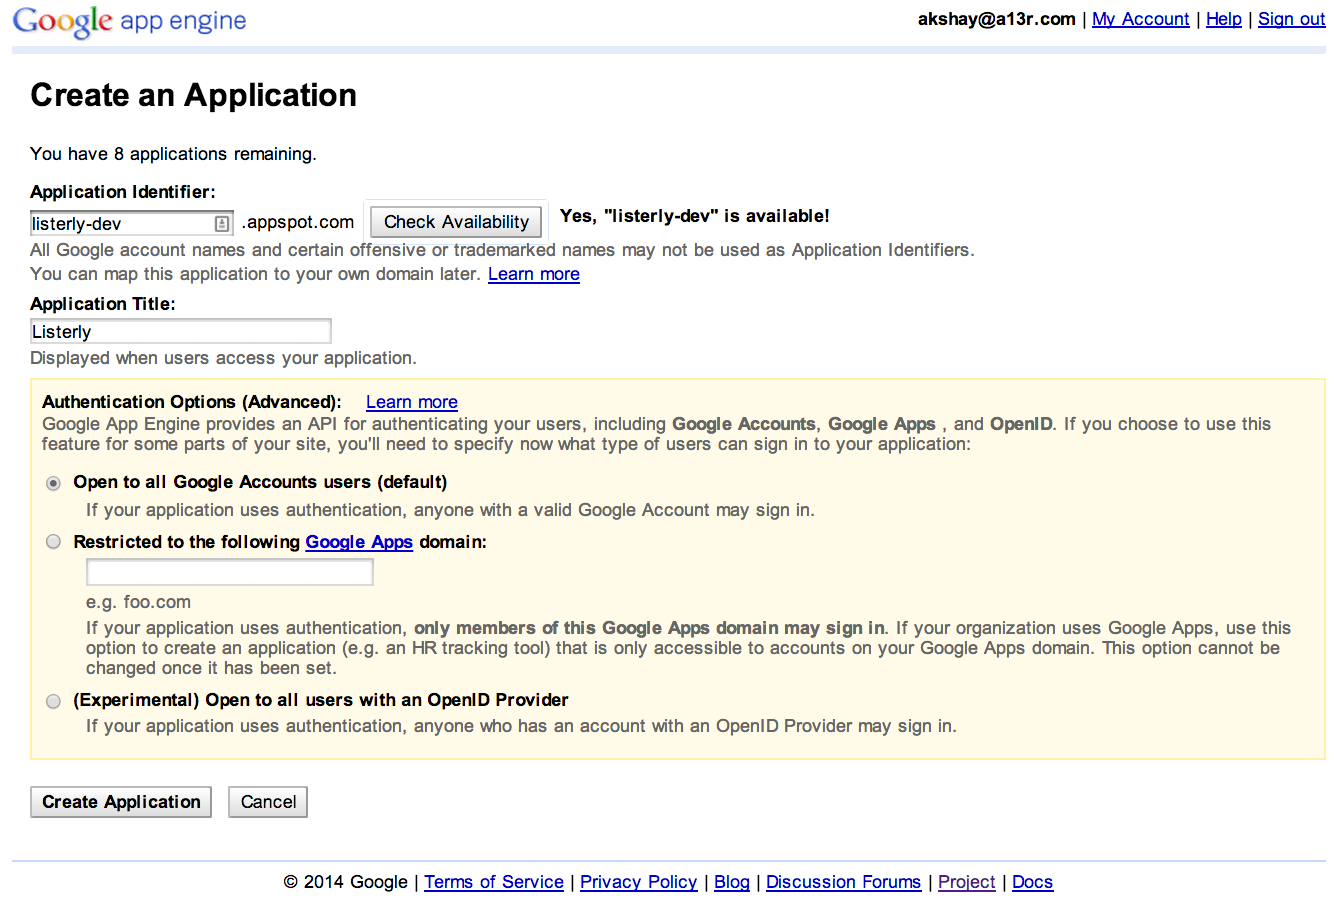
Hopefully that should be all you need to do. Tell Google to go ahead and you should have a blank project ready to go: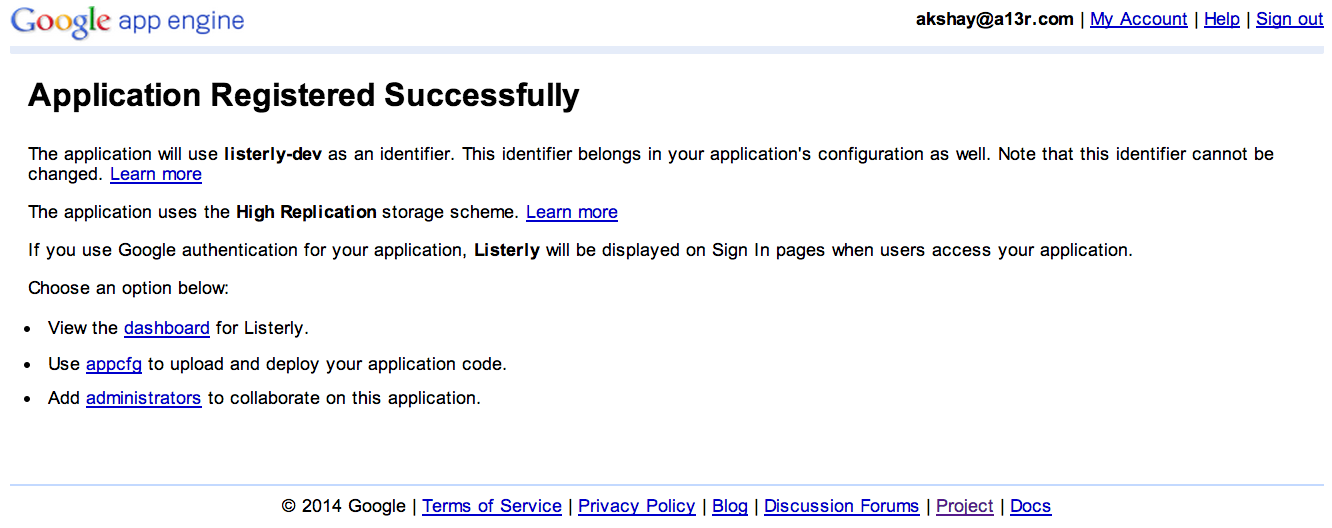
Install Maven
First, download Maven from the Apache download site:1
2
3
4
5
6
7
8mbp:~ akshay$ cd Dev/
mbp:Dev akshay$ mkdir lib
mbp:Dev akshay$ cd lib/
mbp:lib akshay$ curl -O http://apache.mirror.anlx.net/maven/maven-3/3.2.1/binaries/apache-maven-3.2.1-bin.tar.gz
% Total % Received % Xferd Average Speed Time Time Time Current
Dload Upload Total Spent Left Speed
100 6765k 100 6765k 0 0 1757k 0 0:00:03 0:00:03 --:--:-- 1756k
mbp:lib akshay$
Then unzip the file:1
2
3mbp:lib akshay$ ls
apache-maven-3.2.1-bin.tar.gz
mbp:lib akshay$ tar -xvzf apache-maven-3.2.1-bin.tar.gz
Set some environment variables:1
2
3
4
5export M2_HOME=/Users/akshay/Dev/lib/apache-maven-3.2.1/
export M2=$M2_HOME/bin
export MAVEN_OPTS="-Xms256m -Xmx512m"
export PATH=$M2:$PATH
export JAVA_HOME=/Library/Java/JavaVirtualMachines/jdk1.7.0_51.jdk/Contents/Home
Check that we’re good:1
mbp:lib akshay$ mvn -version
Apache Maven 3.2.1 (ea8b2b07643dbb1b84b6d16e1f08391b666bc1e9; 2014-02-14T17:37:52+00:00)
Maven home: /Users/akshay/Dev/lib/apache-maven-3.2.1
Java version: 1.7.0_51, vendor: Oracle Corporation
Java home: /Library/Java/JavaVirtualMachines/jdk1.7.0_51.jdk/Contents/Home/jre
Default locale: en_US, platform encoding: UTF-8
OS name: "mac os x", version: "10.9.2", arch: "x86_64", family: "mac"
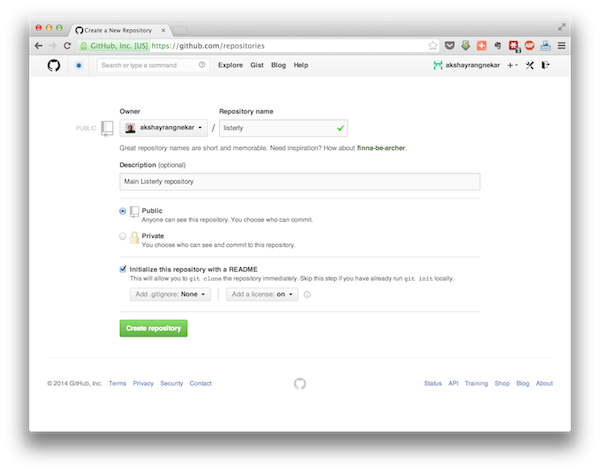
Create repository
Go to GitHub and create a new private repository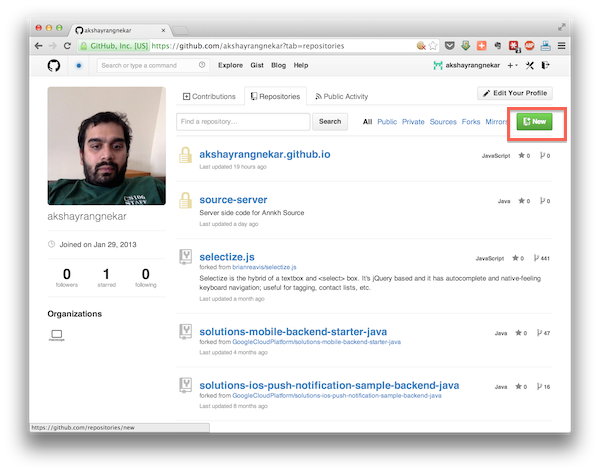
Note I’ve asked it to create a README for me so I can clone. Personal preference - I prefer to clone only rather than init.
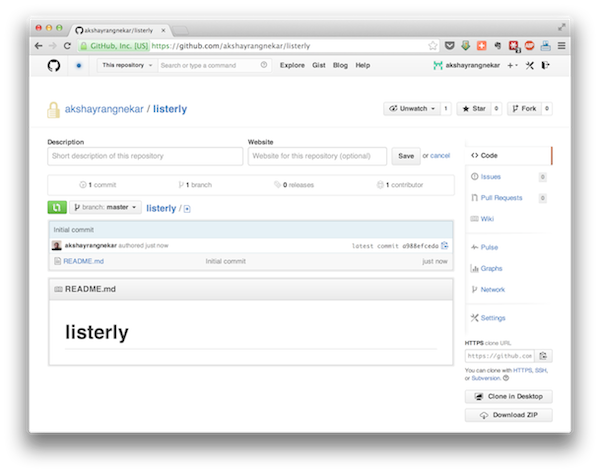
Then clone to your local development directory:1
2
3
4
5
6
7
8
9
10
11
12
13mbp:Dev akshay$ mkdir Listerly
mbp:Dev akshay$ cd Listerly/
mbp:Listerly akshay$ ls
mbp:Listerly akshay$ git clone https://github.com/akshayrangnekar/listerly.git
Cloning into 'listerly'...
remote: Counting objects: 3, done.
remote: Total 3 (delta 0), reused 0 (delta 0)
Unpacking objects: 100% (3/3), done.
Checking connectivity... done.
mbp:Listerly akshay$ cd listerly
mbp:listerly akshay$ ls
README.md
mbp:listerly akshay$
That’s it for Part 1. In Part 2 we’ll create a Maven project for AppEngine and a simple dummy servlet.