This is part four of my post on getting a web application up and running on Google AppEngine with Maven, Jersey and Guice.
Part 3 got us working with Jersey and Guice. Part 4 will make Jersey more useful by adding JSON and freemarker templates.
While our Jersey POJOs are nicely returning String messages at the moment, that’s really not particularly useful in the real world. Most apps that I build are going to return one of three things - static files (which are already easily handled), HTML, or JSON. For HTML, I’ve chosen to use Freemarker templates, which Jersey supports JSON as long as you give it serialization libraries.
Getting JSON working
Getting JSON working is actually fairly simple. First, lets make sure that we’re importing the Jackson library which works has a JAXRS provider that Jersey uses:1
2
3
4
5
6
7
8
9
10
11
12
13
14
15
16
17
18
19
20<dependency>
<groupId>com.fasterxml.jackson.core</groupId>
<artifactId>jackson-annotations</artifactId>
<version>2.2.0</version>
</dependency>
<dependency>
<groupId>com.fasterxml.jackson.core</groupId>
<artifactId>jackson-core</artifactId>
<version>2.2.0</version>
</dependency>
<dependency>
<groupId>com.fasterxml.jackson.core</groupId>
<artifactId>jackson-databind</artifactId>
<version>2.2.0</version>
</dependency>
<dependency>
<groupId>com.fasterxml.jackson.jaxrs</groupId>
<artifactId>jackson-jaxrs-json-provider</artifactId>
<version>2.2.0</version>
</dependency>
Then, we simply create a new method in our Resource:1
2
3
4
5
6
7
8
9
10
11@GET
@Produces(MediaType.APPLICATION_JSON)
@Path("/json")
public Object json() {
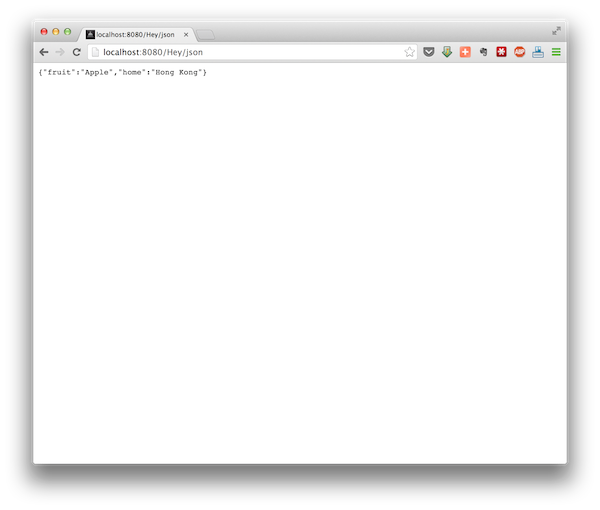
SimpleReturnObject ret = new SimpleReturnObject();
ret.setFruit("Apple");
ret.setHome("Hong Kong");
return ret;
}
The @Produces annotation is enough to tell Jersey to use Jackson to serialize the data. We can then return any Object and the JSON representation will be sent down. Here’s my very simple return object:1
2
3
4
5
6
7
8
9
10
11
12
13
14
15
16
17
18
19
20
21
22package com.listerly.api;
public class SimpleReturnObject {
private String fruit;
private String home;
public String getFruit() {
return fruit;
}
public void setFruit(String fruit) {
this.fruit = fruit;
}
public String getHome() {
return home;
}
public void setHome(String home) {
this.home = home;
}
}
When we access the /Hey/json path, we get exactly what we would want. This works for as simple or complex as you want. If Jackson can handle them (and it can handle most things), you can return them.
Getting Freemarker working
Phew. After the miserale nightmare involved in getting Jersey working, it’s nice that JSON was so easy. Since we’ve already included some of the Freemarker libraries in the POM in Part 3, hopefully Freemarker will be too.
The first thing I noticed when trying to get Freemarker working was a compile error when trying to define a Map<String, Object>. Clearly I had forgotten to do some housekeeping in my POM so we were using an ancient version of Java. Add the compiler configuration to your POM to compile to Java 1.7 (Java 7). AppEngine is happy with classes compiled against that target version.1
2
3
4
5
6
7
8
9<plugin>
<groupId>org.apache.maven.plugins</groupId>
<artifactId>maven-compiler-plugin</artifactId>
<version>3.1</version>
<configuration>
<source>1.7</source>
<target>1.7</target>
</configuration>
</plugin>
Next, as I mentioned in Part 2, I like to keep my templates in their own src directory. You don’t have to do this - you can put them in src/main/resources if you like, but I don’t like to mix my properties files and persistence.xml (which will come in Part 5) with templates which are very different types of files. So I simply tell Maven that I have a second resource directory, in src/main/templates.1
2
3
4
5
6
7
8<resources>
<resource>
<directory>/Users/akshay/Dev/Listerly/listerly/src/main/resources</directory>
</resource>
<resource>
<directory>/Users/akshay/Dev/Listerly/listerly/src/main/templates</directory>
</resource>
</resources>
Next, we need to create a class that will load our templates from the ServletContext or Classpath. Here’s a simple implementation:1
2
3
4
5
6
7
8
9
10
11
12
13
14
15
16
17
18
19
20
21
22
23
24
25
26
27
28
29
30
31package com.listerly.config.jersey;
import java.util.List;
import javax.inject.Inject;
import javax.servlet.ServletContext;
import com.google.common.collect.Lists;
import freemarker.cache.ClassTemplateLoader;
import freemarker.cache.MultiTemplateLoader;
import freemarker.cache.TemplateLoader;
import freemarker.cache.WebappTemplateLoader;
import freemarker.template.Configuration;
public class TemplateObjectFactory extends Configuration {
@Inject
private ServletContext servletContext;
public TemplateObjectFactory() {
// Create different loaders.
final List<TemplateLoader> loaders = Lists.newArrayList();
if (servletContext != null) {
loaders.add(new WebappTemplateLoader(servletContext));
}
loaders.add(new ClassTemplateLoader(this.getClass(), "/"));
setTemplateLoader(new MultiTemplateLoader(loaders.toArray(new TemplateLoader[loaders.size()])));
}
}
Finally, we need to configure Jersey to use this new class. In our JerseyConfiguration class constructor we set a parameter called jersey.config.server.mvc.factory.freemarker:1
2
3
4
5
6
7
8
9
10
11@Inject
public JerseyConfiguration(ServiceLocator serviceLocator, ServletContext servletContext) {
log.info("Creating JerseyConfiguration");
packages("com.listerly.resources");
property("jersey.config.server.mvc.factory.freemarker", TemplateObjectFactory.class);
register(FreemarkerMvcFeature.class);
GuiceBridge.getGuiceBridge().initializeGuiceBridge(serviceLocator);
GuiceIntoHK2Bridge guiceBridge = serviceLocator.getService(GuiceIntoHK2Bridge.class);
guiceBridge.bridgeGuiceInjector((Injector) servletContext.getAttribute(Injector.class.getName()));
}
We should be all set. Let’s create another method in our Resource. This one returns HTML, and notice how we specify the template using the @Template annotation. Notice also that the return type from this method is a Map of Strings to Objects. These are the objects that will then be available in our Freemarker template. For simplicity, I’ve just added two Strings to my Map. The first is called foo and the second bar.1
2
3
4
5
6
7
8
9
10@GET
@Produces(MediaType.TEXT_HTML)
@Path("/template")
@Template(name="/foo.ftl")
public Map<String, Object> template() {
Map<String, Object> map = new HashMap<>();
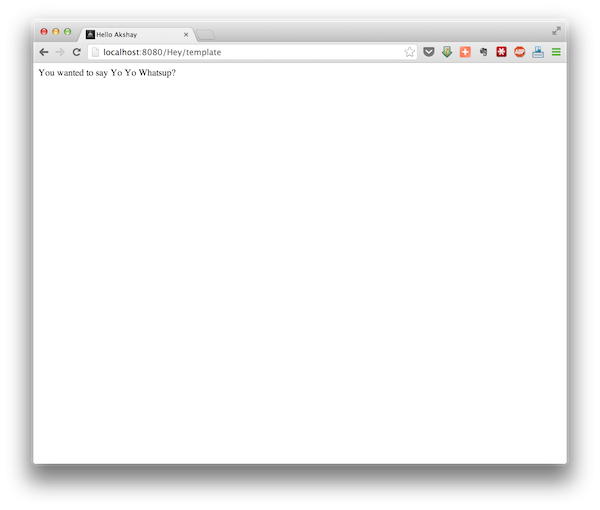
map.put("foo", "Akshay");
map.put("bar", "Yo Yo Whatsup?");
return map;
}
Now we create the foo.ftl template. Notice how easy it is to use the foo and bar parameters we “passed in” from our Resource.1
2
3
4
5
6
7
8
9<!DOCTYPE html PUBLIC "-//W3C//DTD HTML 4.01//EN">
<html>
<head>
<title>Hello ${foo}</title>
</head>
<body>
You wanted to say ${bar}
</body>
</html>
Launch the devserver and load this url (/Hey/template) in your browser, and you should see exactly what you would want.
Obviously there’s a ton more you can do with Freemarker. The parameters in the map can be Collections objects and you can use Freemarkers logical constructs to loop or check for truth/ existence among other things. But those you can pick up quite easily from the Freemarker Manual.
That’s it for Part 4. Part 5 will do the final piece (of this tutorial) of getting persistence configured using JPA.